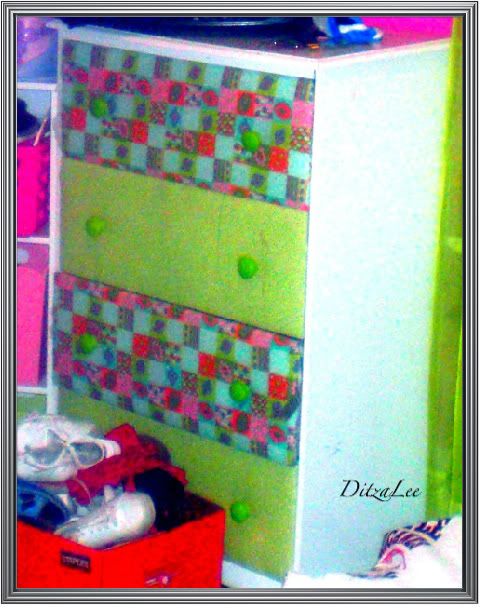
This is what the dresser had looked like in a former life. Sorry for the quality of this photo, I had to crop it in a lot b/c it was just a photo of Jalaya's room after we had painted it the obnoxious pink color that it is now. This was right when we had moved into our house. I had just taken this dresser that we bought from Value City Furniture. It was just a particle board job, (dresser had lived the first part of it's life with cartoon zoo animals I had painted onto the front of the drawers which matched Jalaya's nursery bedding) so I wasn't much concerned of how much I would deface it. :D This former dresser was just some fabric I had purchased on clearance when our Wal-Mart still carried bolts of fabric, some carpet padding for the foam, and staples. The knobs were just plain wooden ones I had bought at Lowe's and painted with acrylic paint.
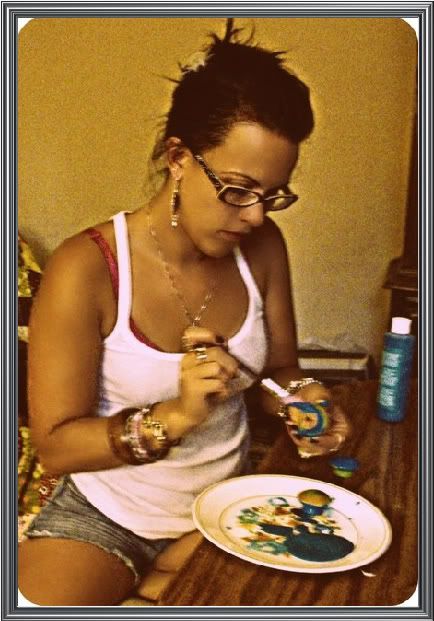
Yeah, sorry about the hair here, I was workin' hard :)
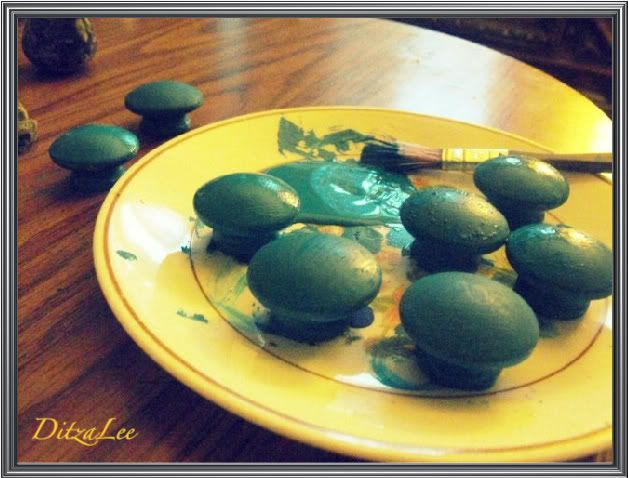
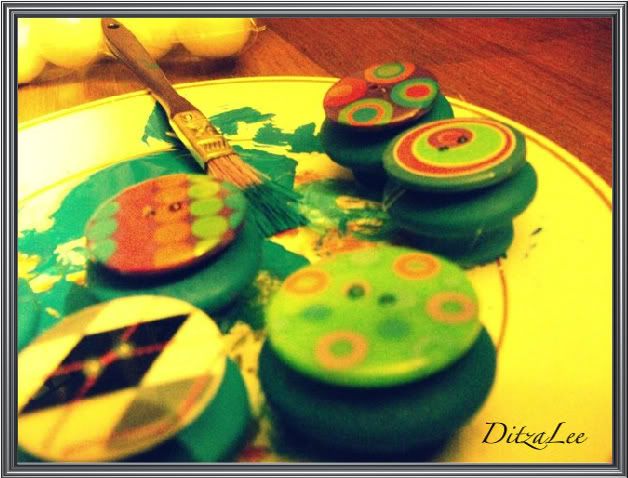
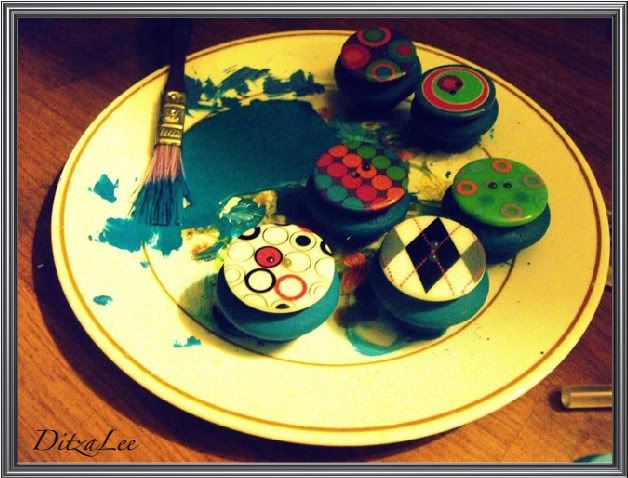
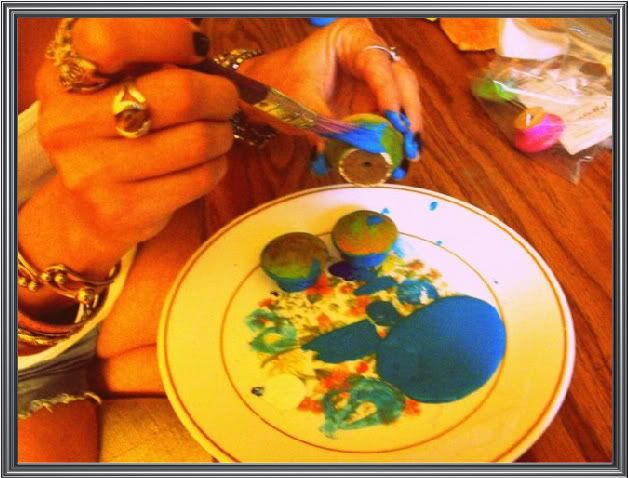
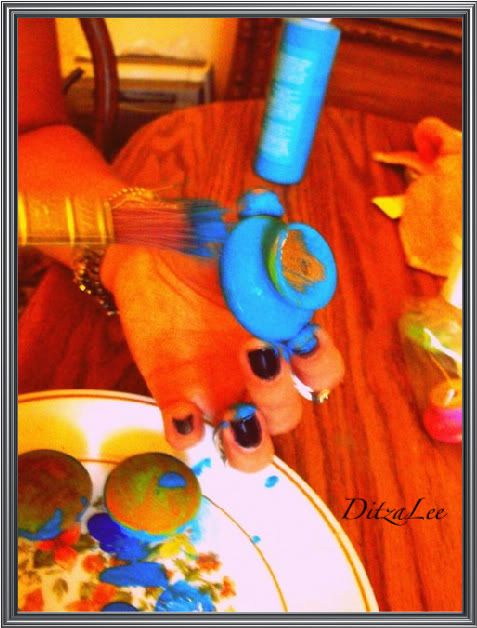
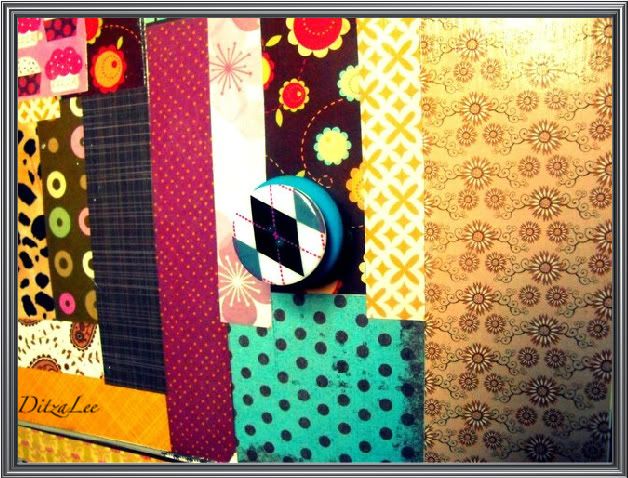
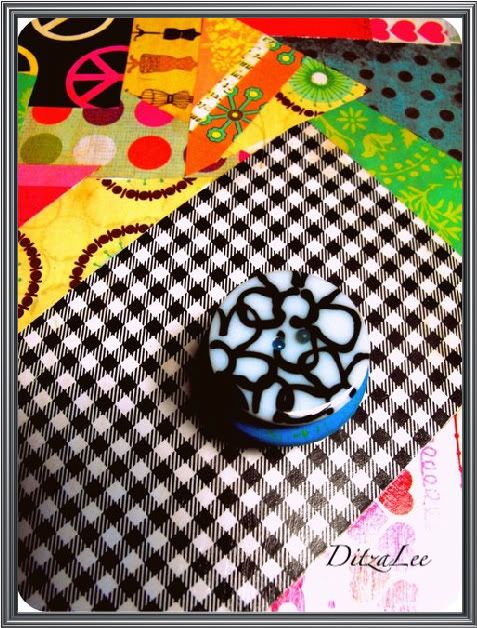
All I did was fire up the glue gun, place some glue on the top of the wooden/painted knob, and press the button down over top until it stayed. Easy Peezy.
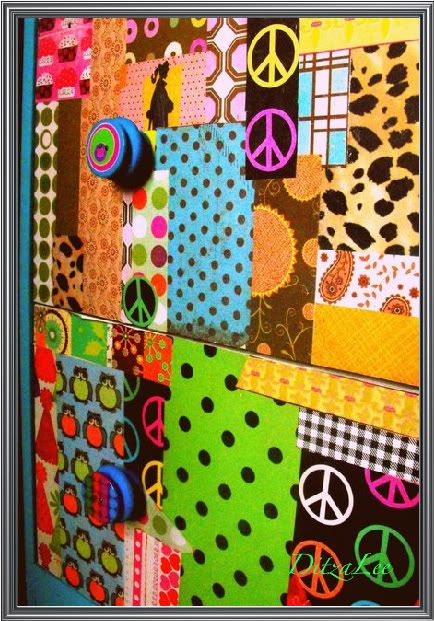
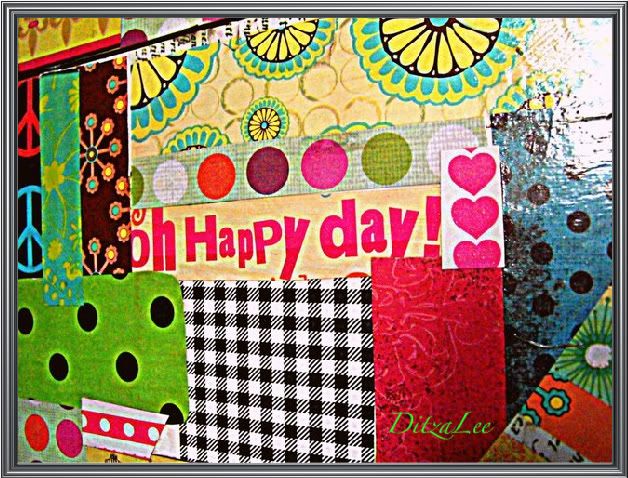
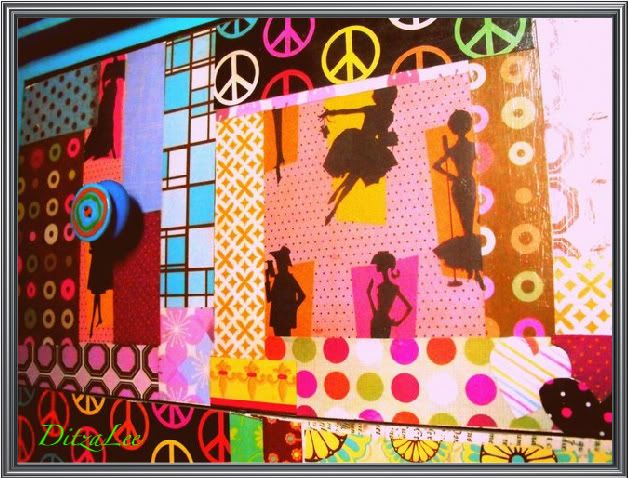
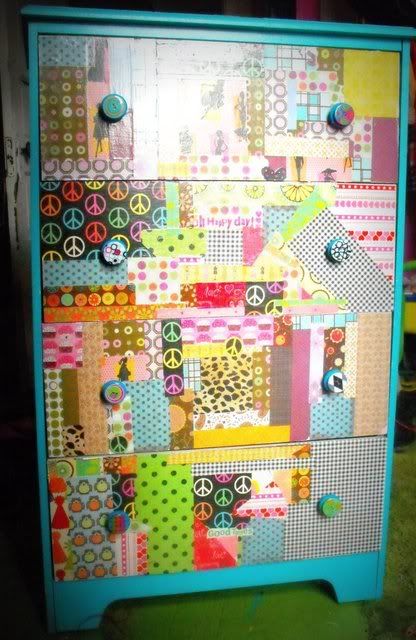
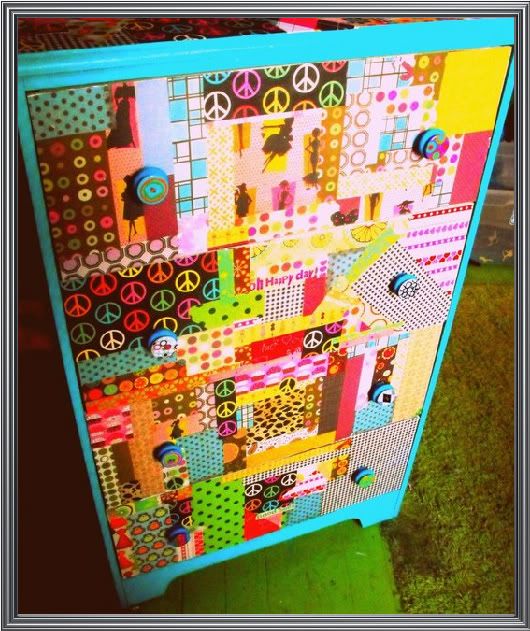
Now, the paper I used is all from Hobby Lobby. I bought most of it all at once, for both this project, and another one that's cooking as we speak. I cut the paper into strips and other shapes that I felt were visually appealing. I used my beloved Mod Podge to spread a layer on the wood, and sometimes if it was a more stubborn piece of paper, on to the paper itself. After I gently flattened the paper with my finger I spread a thin layer of MP over top of the paper, repeating this a few times in between drying. After all the paper was adhered I painted over the drawers and the top of the dresser with about 20 very thin coats of polyurethane. That was the final step in sealing the paper, and making sure that one of the kids don't find a way to peel it all off.
I had painted the body of the dresser before hand, I used a little Valspar paint sample I bought at Lowes, and I still have some left over. That took about 2 coats.
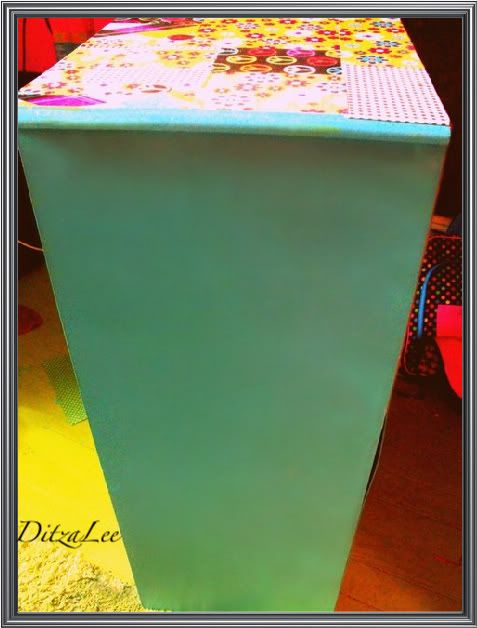
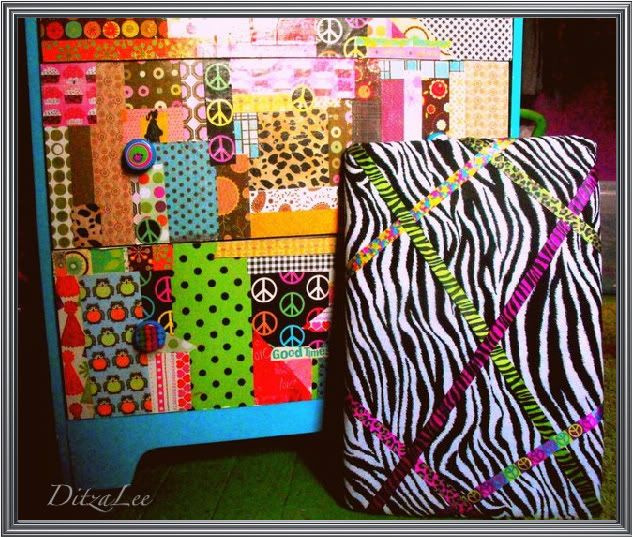
Here are some extra shots of the paper and knobs (attached). Don't you just LOVE these designs. They scream funky tween. They're exactly what my Jalaya and every other 8 year old girl love at the moment.
I really cannot wait until I have Jalaya's room finished and able to be photographed. Until then, at least I've knocked some stuff of the list! Stay tuned for sure this week, I have a few refashions and finished projects, and possibly a video or two ;)
xoxo,
Jamie Lee

This looks absolutely amazing !!! I wish I could do that to my fournitures but I'm only renting the room so I can't >__< ! But seriously, good work ! You surely got a lucky little angel =) !
ReplyDeletexxx Vee
(thanks for your sweet comment by the way =)
this is the absolutely most stylish, adorable, fabulous and beautiful dresser i´ve ever seen!!! you are so creative and talented!!! i wish you could make me one like that too;) it is really so cool, the colours and the buttons. just amazing and great!!
ReplyDeleteand thank you so much for your sweet comment, maybe we make one day a deal u make me a dresser and u get a dress, well thats not a good deal for you haha
love and kiss,mary
Love it! I really like the knobs...especially the argyl one!
ReplyDeleteThank you Vee <3
ReplyDeleteAnd Mary Lou, That sounds like a pretty good trade-off to me!
Thanks J! The buttons are my favorite part!!
That is so amazing! I'm going to show this to my sixteen year old daughter. I think she would love to do this project with me for her room.
ReplyDelete